How to Install the Home Backup Kit
When blackouts happen, the Project Solar Home Backup Kit acts as a portable backup power solution for your home. This kit ensures your family stays safe, comfortable, and connected, offering peace of mind and uninterrupted power to keep your home running smoothly. In this article, we'll take you through everything you need to know to set up your Home Backup Kit, including what's in the kit, what the kit can back up, the tools you'll need for installation, and step-by-step instructions.
What's in the Kit?
The Home Backup Kit includes three devices: the Power Bank 2000, Transfer Switch Sub-Panel, and Expansion Pack 3000. The Power Bank 2000 is the battery for backup power, while the Transfer Switch Sub-Panel connects it to your home sub-panel, enabling you to restore power.
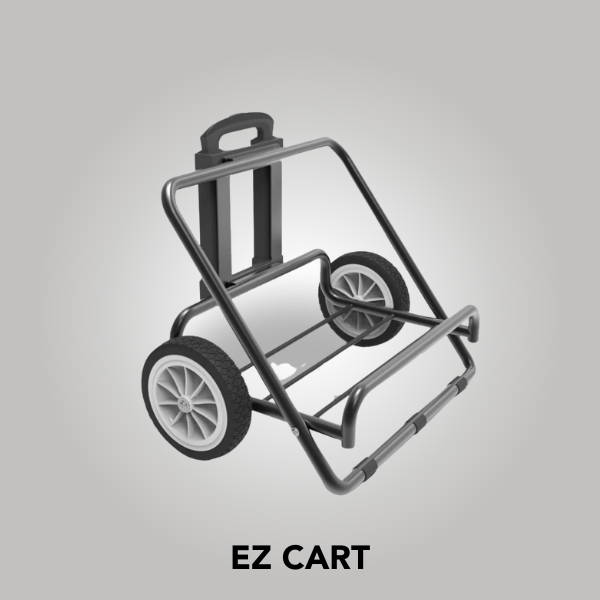
You can also opt for an Expansion Pack 3000, depending on the type of kit you choose. You can add up to two Expansion Pack 3000s to increase the capacity of your Power Bank 2000. For easy transport and stacking of these devices, the EZ Cart is available.


What Can It Back Up?
- Garage Door Opener
- Refrigerator
- Wifi Router
- Electric Grill
- TV
- Lights
- Microwave
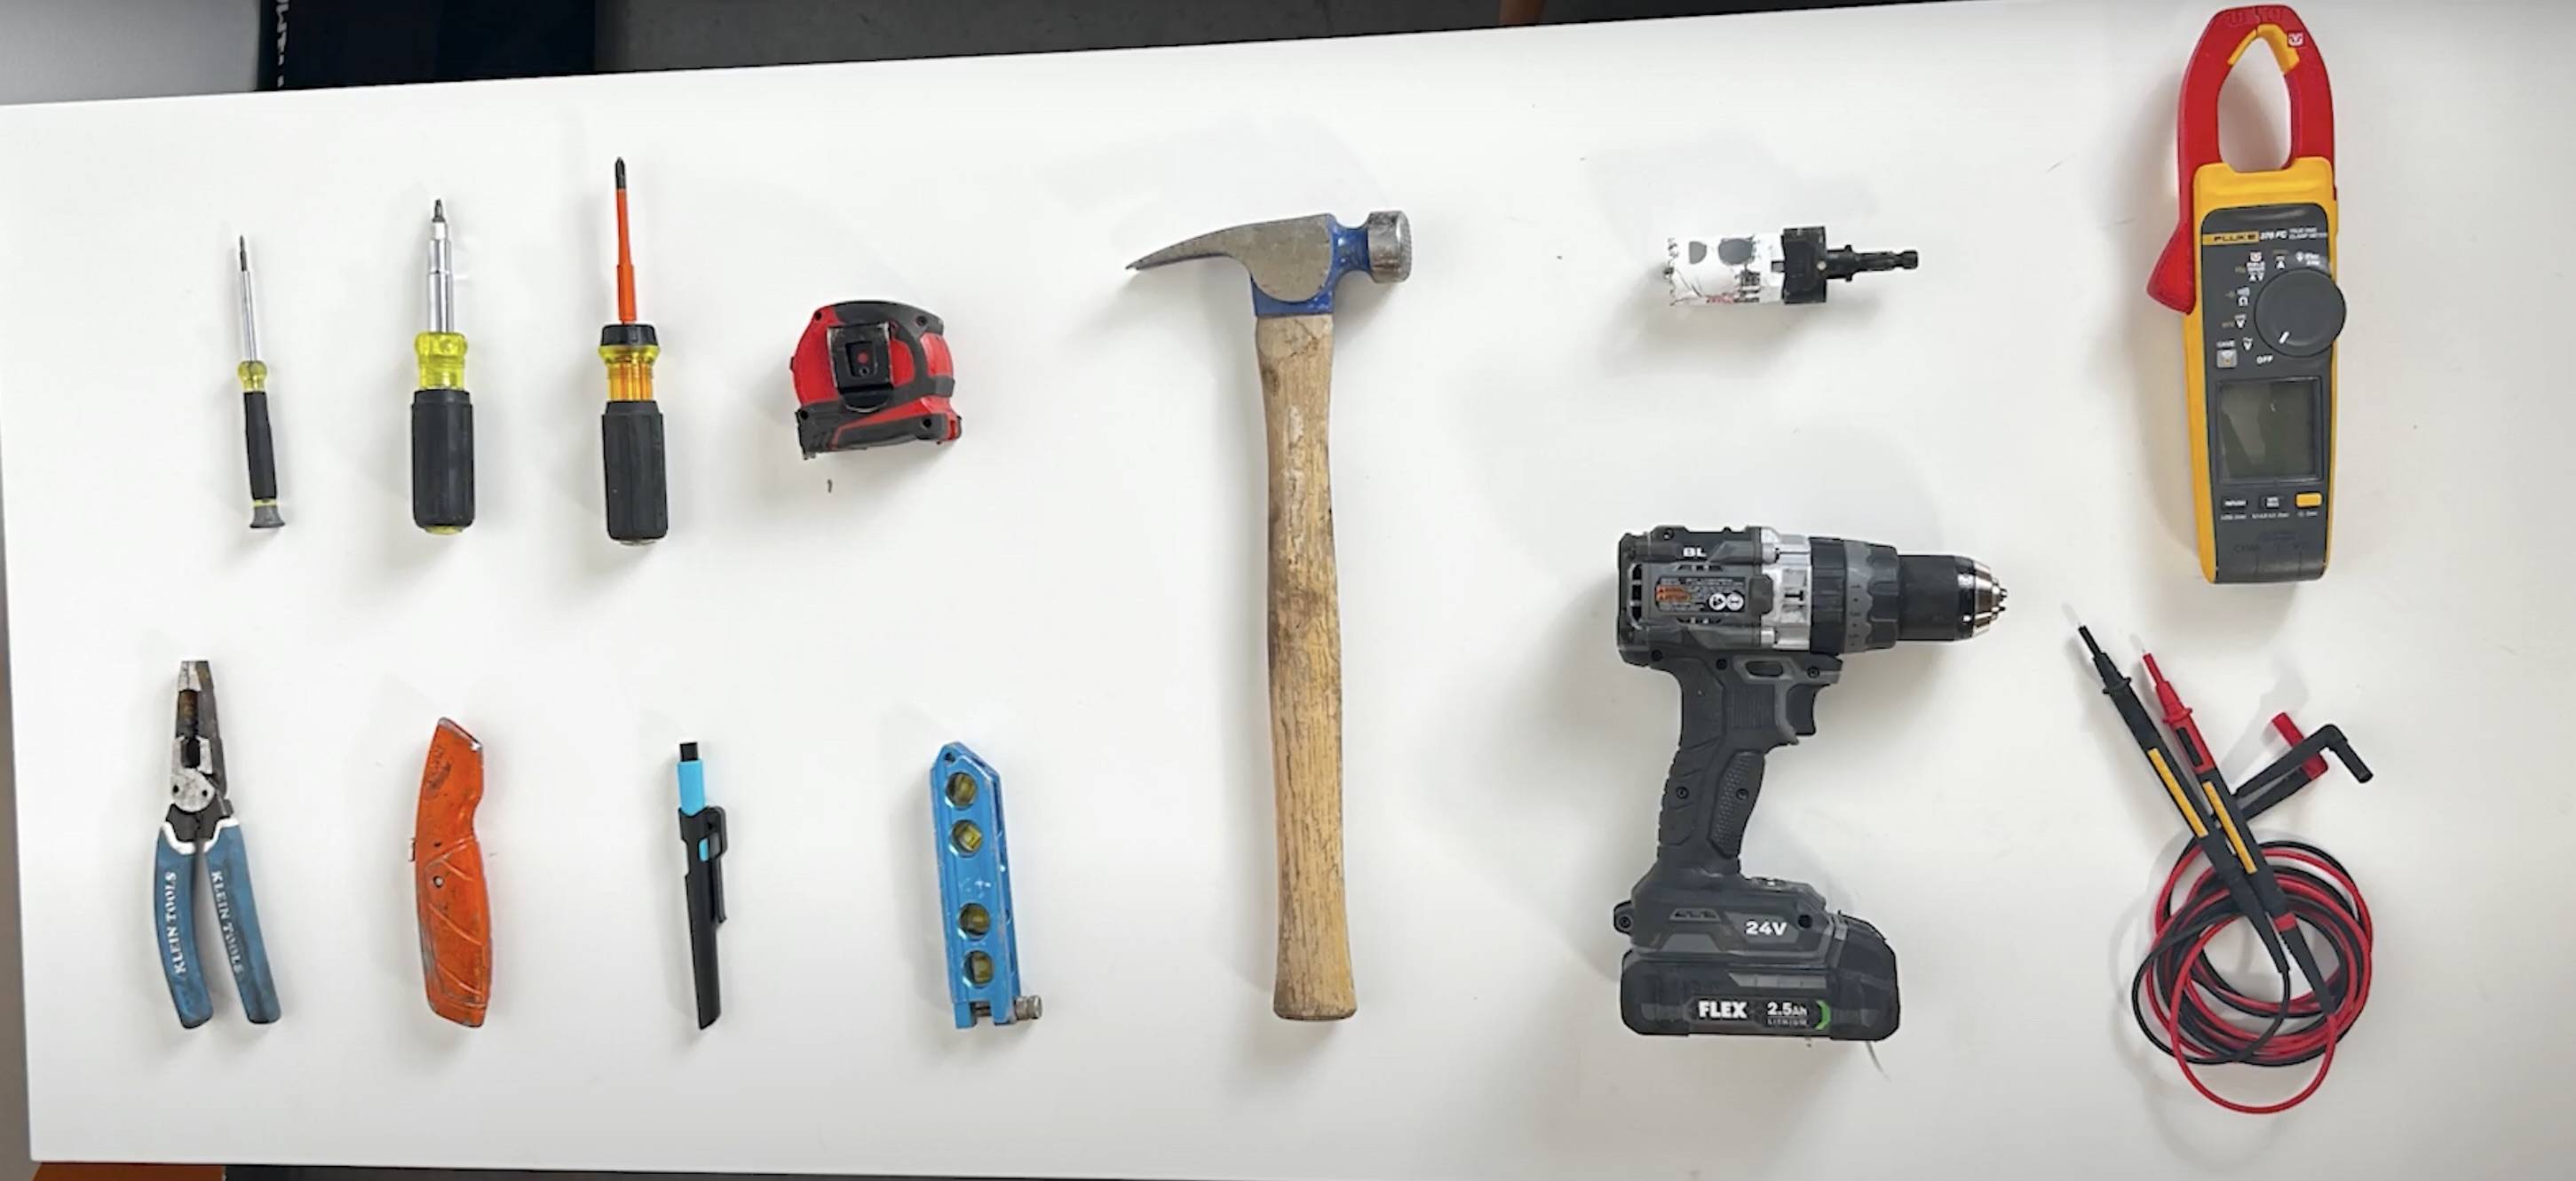
Tools for Installation
- Screwdriver
- Tape measure
- Hammer
- Hole saw/drill bit
- Voltmeter
- Wire strippers
- Utility knife
- Marker
- Level
- Drill
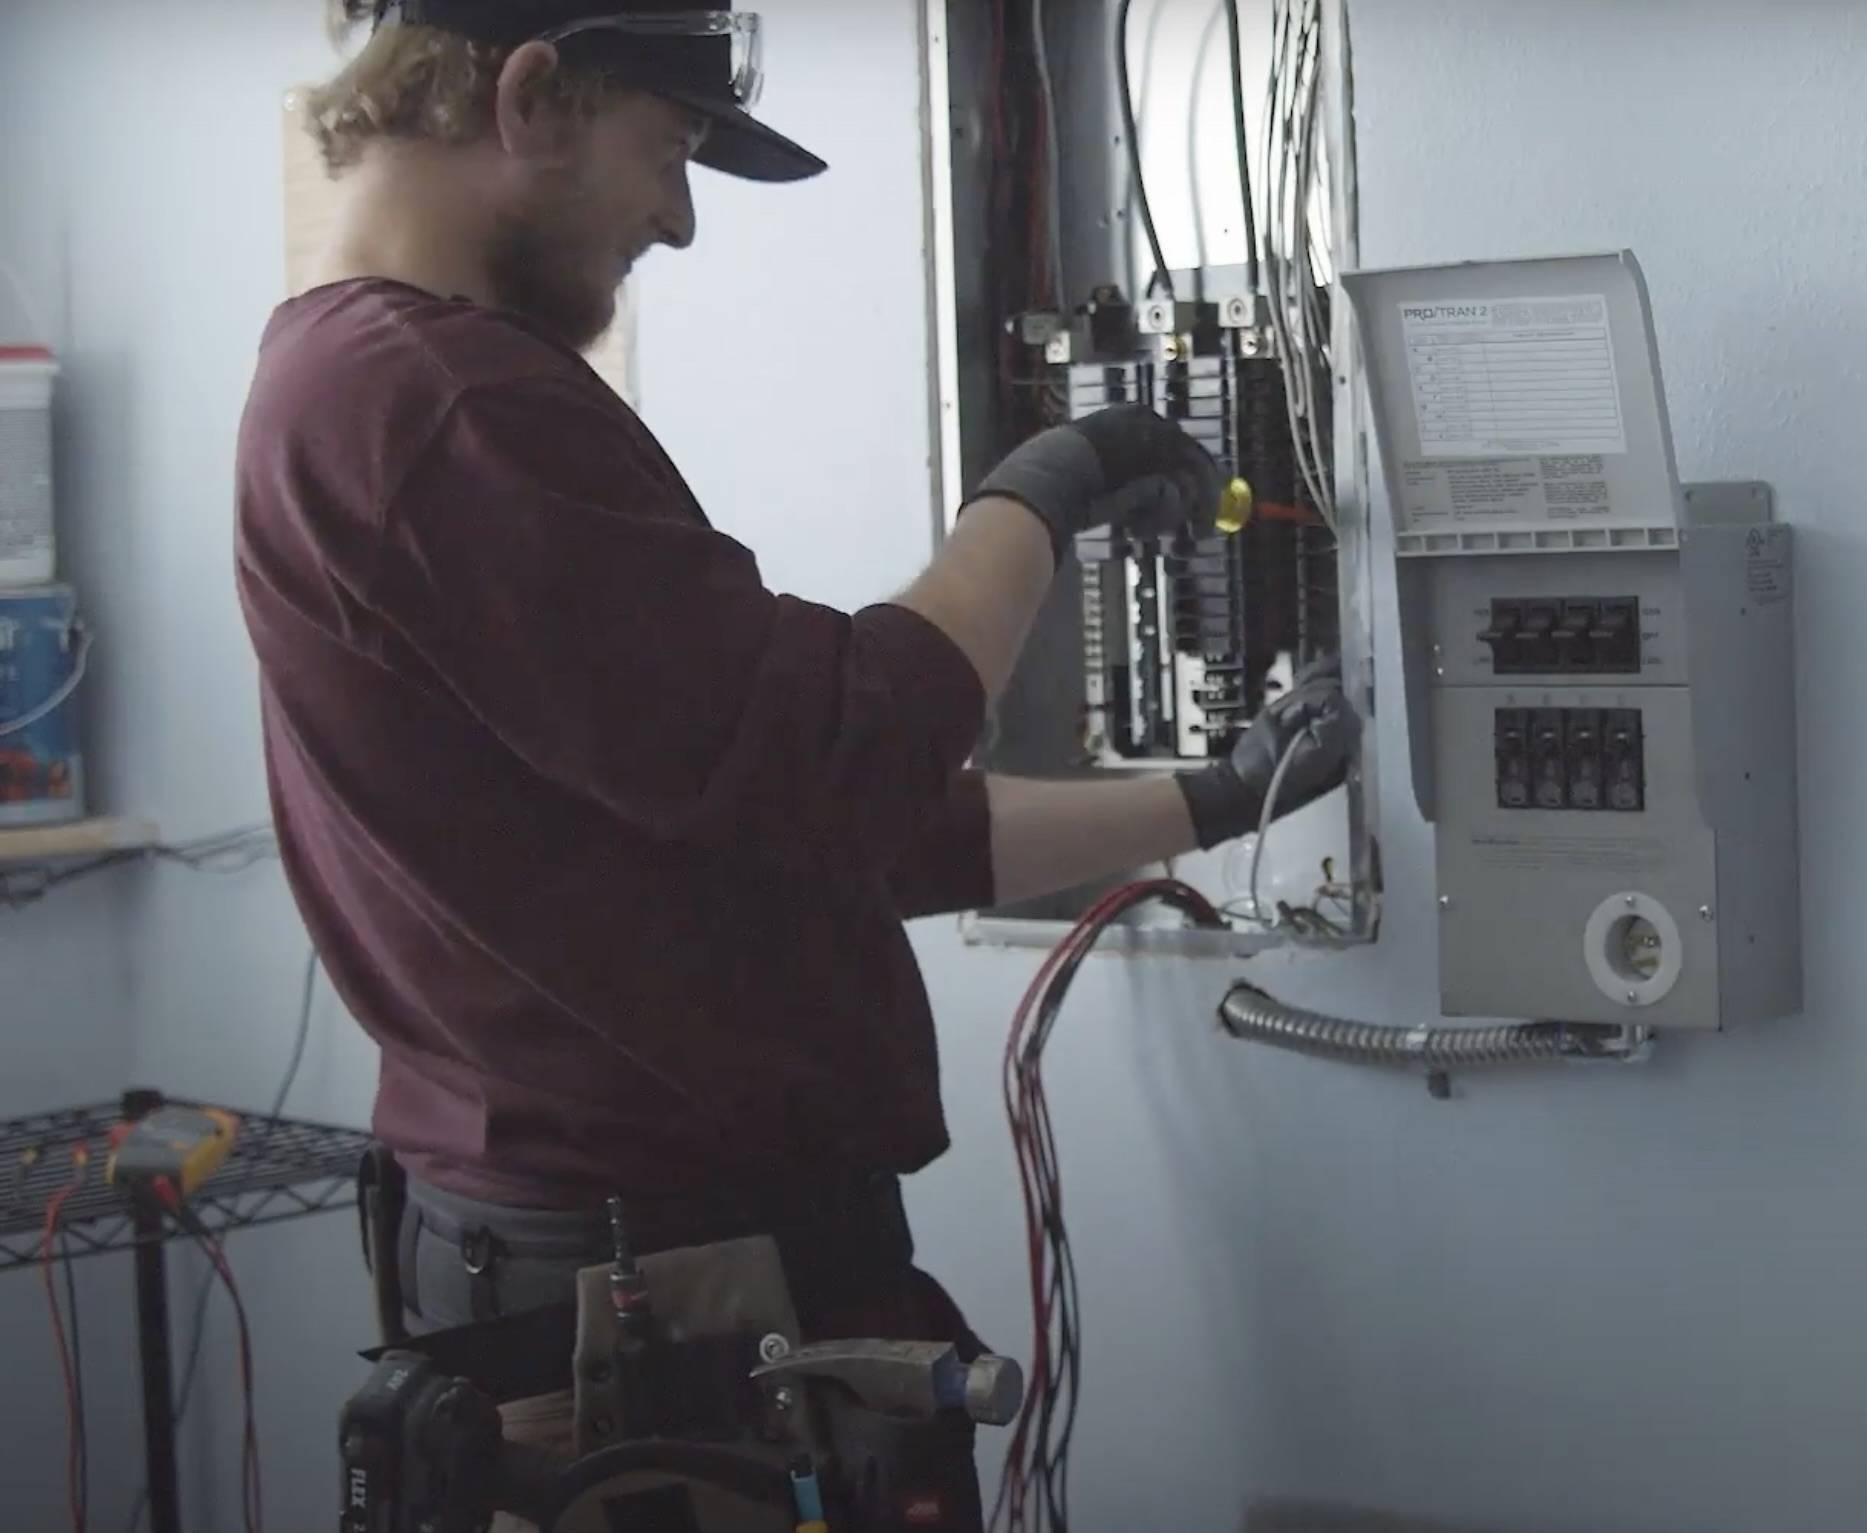
How to Install the Transfer Switch Sub-Panel
To install your Transfer Switch Sub-Panel, follow these step-by-step instructions:
1. Unscrew the cover on your home sub-panel with a screwdriver, exposing the wiring. Keep the screws and cover somewhere safe.

2. Turn off the main breaker on your home sub-panel to prevent getting shocked. Use your voltmeter to confirm the power is off by touching the probe to the wire connected to the breaker.

- Mark a place on the wall to install the Transfer Switch. You must place it a few inches to the side of your home sub-panel.
- Drill four anchors and screws into the wall where you marked the wall.
- Use a measuring tape to ensure the screws align with the shape of the Transfer Switch.
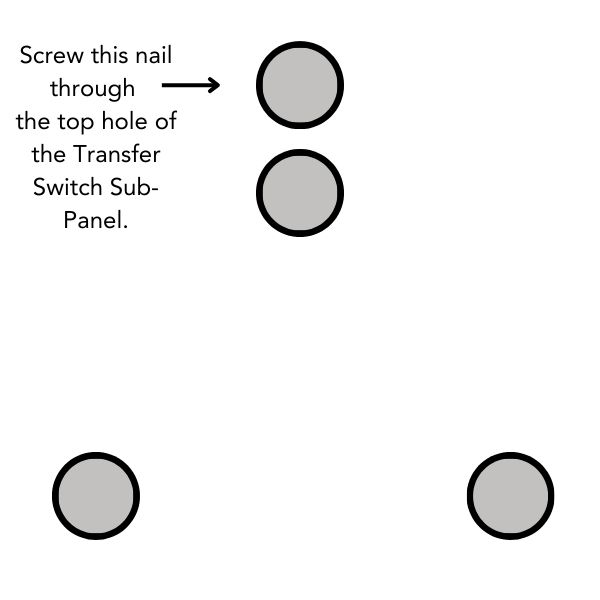
- Hang the Transfer Switch, and use a level to make sure it’s straight. The nail arrangement should look like this:
- Use a flexible metal conduit to string the wires from your Transfer Switch Sub-Panel to your home sub-panel:
- Cut a hole in the drywall underneath the sub-panel using the drill saw bit. Then, cut a hole in the metal floor of the sub-panel.
- Pull the group of wires from your Transfer Switch Sub-Panel through a flexible metal conduit.
- Attach an angled bracket at the end of the conduit.
- Feed the metal conduit through the two holes you've made in the wall so the wires can access the inside of the sub-panel.
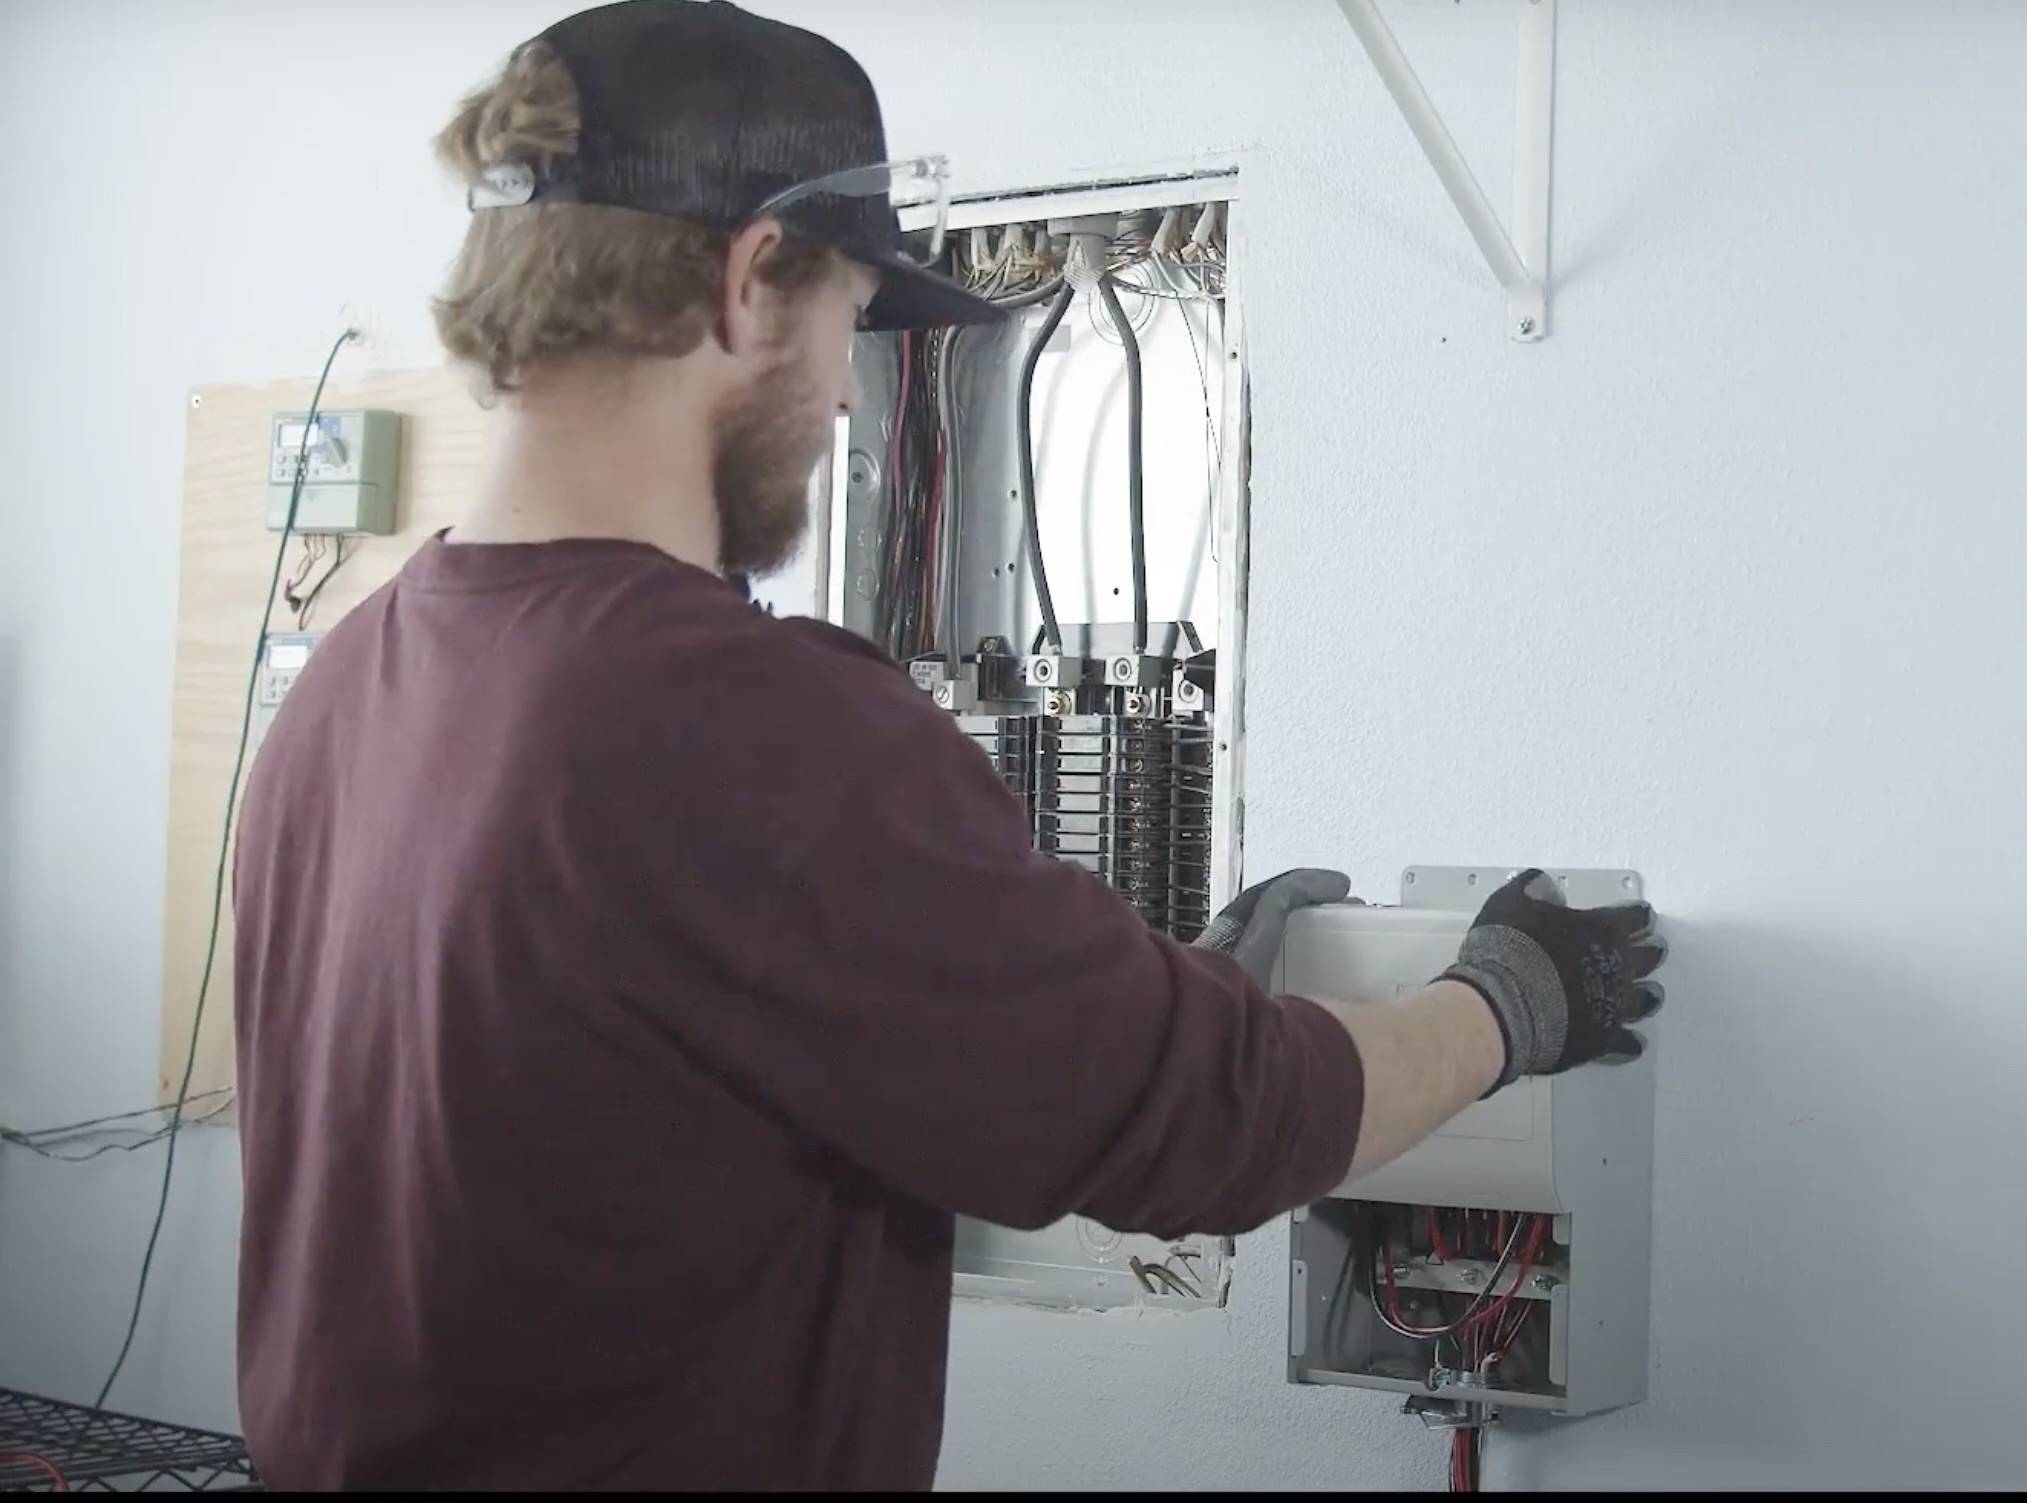
- Tighten a lock washer over the hole at the bottom of the sub-panel, keeping the conduit in place. When installed, it should look like this:

- Place the cover over the Transfer Switch Sub-Panel.
- The neutral wire is a white wire that will poke through the plug opening on the Transfer Switch Sub-Panel. You must connect that wire to the silver screw on the plug.
- A red and black wire should poke through the opening of the Transfer Switch Sub-Panel as well. The plug will have a three-port connector where you connect the red and black wires. When installed, the Transfer Switch should look like this:
- Use the wire strippers to tie the ground wire to the same-colored ground wire inside the home sub-panel.
- Tie the neutral wire to the other same-colored neutral wires inside the home sub-panel.
- Match together the red and black wires that share the same letter. There should be stamps on each wire pair that say either A, B, C, or D.
- Find a breaker that needs to be backed up. Remove the wire that connects to the breaker, and tie a red wire in its place. Tie the black wire to the now exposed wire from the breaker.
7. Use your screwdriver to screw the cover back onto the home sub-panel.

Once your Transfer Switch Sub-Panel is up and running, you can rest assured that you can quickly restore electricity in case of a disaster. Just grab your Power Bank 2000 and Expansion Pack 3000(s), connect it to your Transfer Switch Sub-Panel, and boom — power is back!
Installation Instructions Video

By taking advantage of solar tax credits, you could get up to 30% off the price of a Home Backup Kit. So why wait? Click here to get your Home Backup Kit today and be prepared for any power emergency.